1
2
3
4
5
6
7
8
9
10
11
12
13
14
15
16
17
18
19
20
21
22
23
24
25
26
27
28
29
30
31
32
33
34
35
36
37
38
39
40
41
42
43
44
45
46
47
48
49
50
51
52
53
54
55
56
57
58
59
60
61
62
63
64
65
66
67
68
69
70
71
72
73
74
75
76
77
78
79
80
81
82
83
84
85
86
87
88
89
90
91
92
93
94
95
96
97
98
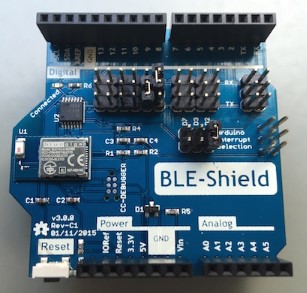
| /*
* BLE Shield SoftSerial Test Sketch for Arduino 1.0.6
* v3.0.0 2015-02-06
*
* Copyright (c) 2012-2015 Dr. Michael Kroll
*
* Permission is hereby granted, free of charge, to any person obtaining a copy of this
* software and associated documentation files (the "Software"), to deal in the Software
* without restriction, including without limitation the rights to use, copy, modify, merge,
* publish, distribute, sublicense, and/or sell copies of the Software, and to permit persons
* to whom the Software is furnished to do so, subject to the following conditions:
*
* The above copyright notice and this permission notice shall be included in all copies or
* substantial portions of the Software.
*
* THE SOFTWARE IS PROVIDED "AS IS", WITHOUT WARRANTY OF ANY KIND, EXPRESS OR IMPLIED,
* INCLUDING BUT NOT LIMITED TO THE WARRANTIES OF MERCHANTABILITY, FITNESS FOR A PARTICULAR
* PURPOSE AND NONINFRINGEMENT. IN NO EVENT SHALL THE AUTHORS OR COPYRIGHT HOLDERS BE LIABLE
* FOR ANY CLAIM, DAMAGES OR OTHER LIABILITY, WHETHER IN AN ACTION OF CONTRACT, TORT OR OTHERWISE,
* ARISING FROM, OUT OF OR IN CONNECTION WITH THE SOFTWARE OR THE USE OR OTHER DEALINGS IN THE SOFTWARE.
*
* http://www.mkroll.mobi
* http://forum.mkroll.mobi
*/
#include <SoftwareSerial.h>
// In order to not interfear with the USB serial console
// we configure the BLE-Shields serial lines to be available
// through SoftwareSerial on pins D8 and D9.
// Please set the jumpers
// to RX -> D8 and TX -> D9
SoftwareSerial bleShield(8,9);
boolean connected;
void setup() {
// On the Arduino Uno, the Serial port is mapped to the USB Cable
// and available in pins D0 D1.
// We set it to 9600 baud.
Serial.begin(9600);
Serial.print("BLE-Shield v3.0.0 Sketch setup...");
// Set the data rate for the SoftwareSerial port
// The BLE-Shield v3.0.0 is running at 9600 since this
// is the default baudrate for the BLE-Shield v3.0.0
bleShield.begin(9600);
// The BLE-Shield v3.0.0 is not only litting up the blue LED on connection,
// but raising and lowering an interrupt on the Arduino.
// Finally you are able to see the connected state on the Arduino :-)
// Here we attach the interrupt according to the spec at
// http://arduino.cc/en/Reference/attachInterrupt
// The interrupt jumper has to be set to D2
attachInterrupt(0, connection, CHANGE);
Serial.println(" done.");
connected = false;
}
void loop() // run over and over
{
// Wait for Data on the serial console and submit it to the
// BLE-Shield byte per byte. there is no longer a buffer involved.
if (Serial.available()) {
int ch = Serial.read();
char c = char(ch);
Serial.print(c);
bleShield.print(c);
}
// Wait for data send from the iPhone and print it to the serial console.
// That's it. Quite simple.
if (bleShield.available()) {
Serial.write(bleShield.read());
}
}
// This method is called if the connection state changes.
// When a connection is established, the Interrupt will be set to high, and
// set to low, once the BLE-Shield is disconnected.
void connection() {
connected = !connected;
if (connected) {
Serial.println("BLE-Shield Connected = true");
}
else {
Serial.println("BLE-Shield Connected = false");
}
} |


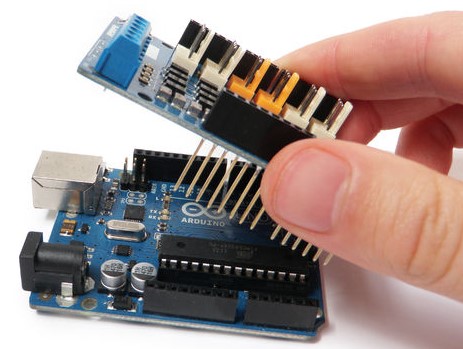
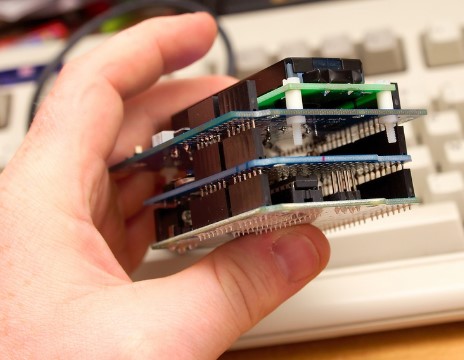
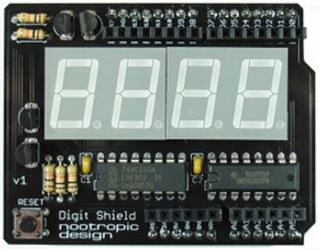
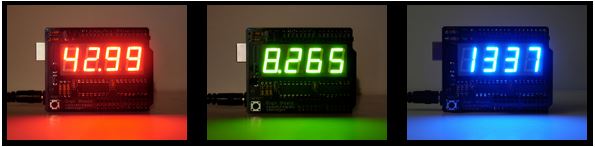
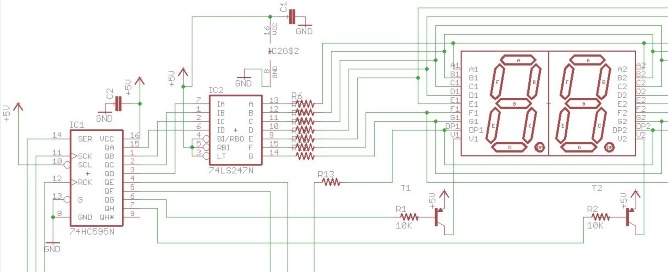
Les cartes d'interface (shield)
 Répondre avec citation


Partager